 Growing, Brewing beer
+in++a+pot.jpg) Growing hops in a pot
Growing hops in a pot Drying hops in a gas oven
 Growing wheat for beer or bread
 Very small scale all grain brewing
 Northern Brewer Coupon/Discount Codes
 Casting and sculpture
 DIY simple casting furnace
 Lost foam figure
 DIY belt buckles
 Rotometals coupon/discount code
 Figure Sculpture In Wax and Plaster
 Printing and Painting
 DIY t-shirt printing
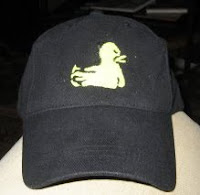 DIY screen printing a hat
 Sticker stencil t-shirt printing
 Painting bones
 Painting Animals
 wallpaper/wrapping paper
 Bottles
 How To Cut Wine Bottles with String and Acetone
 How To Cut Wine Bottles with a Dremel tool
 Glass etching without a stencil
 Re-usable Chalk Bottle Labels
 Recipes
 Spicy Ginger Ale Recipe
 What to do with too much Zucchini
 How to make a great mojito
 How to pickle peppers
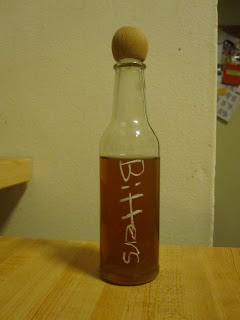 Homemade Bitters
 American flag jello
 sodastream orangina
 sodastream ginger ale
 Toys and Games
 Build a Ladder Golf Set
 Mario Kart RC Battle
 Crayon Carving
 Other/Contact
 Reusing chopsticks
 how to make a dropdown menu with images
 how to add a share to facebook button to your blog
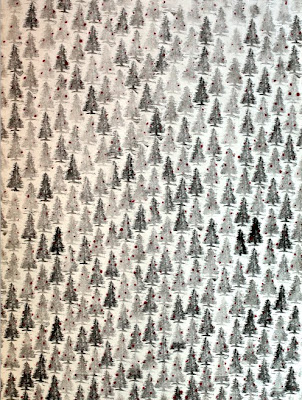 |
| Block print DIY Wrapping paper- Thanks for the photo Rubidium Wu |
Linoleum Cutter

Linoleum Blocks

Soft Rubber Brayer (AKA that roller thingy)

Graph Paper.
Paint of some sort.
Other paper to print on (TBD)

Well I guess we can start out with how to make any wallpaper pattern in case trees are not your thing.
1) The stately square without which wallpaper is but the fevered dream of a madman. 6x6 in this case. Easy to see how we can line them buggers up to make a consistent pattern. If you don't understand how to do that you can look at your trusty graph paper for an example.
2) Now to modify the square. Any square in the graph paper can be slid to the opposite side and they will still lock up just fine.
3) Ah. Looks like a tree already.
4) draft of the final image is done on paper.
5) GOOOLDEN RINGS!.... or a cut out of the pattern to trace on to the linoleum sheet.
6) after tracing on the pattern on to the linoleum I cut it out with a box cutter.

7) cut away all the parts of the linoleum that are not the tree using a Linoleum Cutter

8) Roll on your ink and stamp away.
9) I added decorations to the trees using nail polish.
10) after making the original I had the photo printed as an engineering print at staples.


 After printing I cut out the stencil letters and affixed the label to an ironed t-shirt. I rolled on some


 ,
,  and
and 


 Posts
Posts


