 Growing, Brewing beer
+in++a+pot.jpg) Growing hops in a pot
Growing hops in a pot Drying hops in a gas oven
 Growing wheat for beer or bread
 Very small scale all grain brewing
 Northern Brewer Coupon/Discount Codes
 Casting and sculpture
 DIY simple casting furnace
 Lost foam figure
 DIY belt buckles
 Rotometals coupon/discount code
 Figure Sculpture In Wax and Plaster
 Printing and Painting
 DIY t-shirt printing
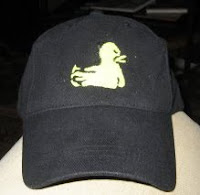 DIY screen printing a hat
 Sticker stencil t-shirt printing
 Painting bones
 Painting Animals
 wallpaper/wrapping paper
 Bottles
 How To Cut Wine Bottles with String and Acetone
 How To Cut Wine Bottles with a Dremel tool
 Glass etching without a stencil
 Re-usable Chalk Bottle Labels
 Recipes
 Spicy Ginger Ale Recipe
 What to do with too much Zucchini
 How to make a great mojito
 How to pickle peppers
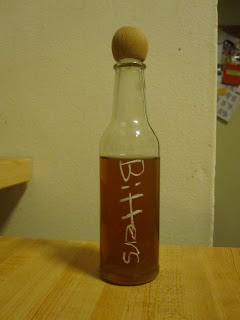 Homemade Bitters
 American flag jello
 sodastream orangina
 sodastream ginger ale
 Toys and Games
 Build a Ladder Golf Set
 Mario Kart RC Battle
 Crayon Carving
 Other/Contact
 Reusing chopsticks
 how to make a dropdown menu with images
 how to add a share to facebook button to your blog
Tuesday, October 16, 2012
Does the Dioscorea caudex grow faster underground
I have read this many places online and did a small test using 4 seeds of Dioscorea Elephantis. After 4 months there was a clear difference between the underground and above ground seeds with the buried caudex being larger and much lighter in color.
 To better test this assertion that I have read on many webpages I am germinated 24 seeds of Dioscoreaceae Meixcana. I have not sorted out the complete plan but once I know how many germinate I will attempt to grow 4 to a 4" pot and randomize two per pot to being covered completely v. 50%. I will then follow caudex width, length, estimated volume as well as number of leaves and survival every 6 months. I don't believe I have all the info I need to do formal power calculations but I am certain that this number could detect the effect if it is as impressive as my experience with D. elephantis. If no effect is appreciated in this size that would be more then enough info to guide the treatment of these plants by fellow amatures.
Suggestions?
To better test this assertion that I have read on many webpages I am germinated 24 seeds of Dioscoreaceae Meixcana. I have not sorted out the complete plan but once I know how many germinate I will attempt to grow 4 to a 4" pot and randomize two per pot to being covered completely v. 50%. I will then follow caudex width, length, estimated volume as well as number of leaves and survival every 6 months. I don't believe I have all the info I need to do formal power calculations but I am certain that this number could detect the effect if it is as impressive as my experience with D. elephantis. If no effect is appreciated in this size that would be more then enough info to guide the treatment of these plants by fellow amatures.
Suggestions?


Wednesday, August 1, 2012
DIY frame for canvas painting from hardware store

 |
| Molding seen on edge. The thin end will be the outside of the frame. |
This project used:
-molding which can be purchased at a hardware store seen on end to the right.
-wood glue
-corner clamp

-cheap mitre box

-black stain
-gold acrylic paint.
1) Calculate the needed length of wood. To do this first measure the size of the object to be framed. In this case the painting was 24x4". Next measure the width of the molding being used. In this case it was ____. The sides of the frame will need to be the length of the object + 2 times the width of the molding. This length will be the outside length of your wood. The inner length will be the size of the object to be framed.
 |
| The frame being glued with pony corner clamp |
2) Cut the frame with your mitre box
. Make 110% sure you are cutting the correct way. It is easy to cut the angles in the reversedirectopn. Measure the inner length of the object and mark those cuts as that number is exact and the outer length is less accurate. |
| Painted Black |
. This has only OK reviews on amazon but I have had good luck with it at its price. 4) Hmm so pretty all glued together.
5) Paint it as desired. I used a black stain and then I painted highlights with gold acrylic paint from the art shop.
 |
| With trim added |
2012 Northern Brewer Coupon Codes
It looks like they are back to posting coupon codes again.
All IPA Kits 15% "IPA12" at checkout.
The First Good Beer I Ever Made
The most current code should always be in the right side bar ->
Thursday, July 26, 2012
Zoidberg Jesus "I help those who help themselves"
A draft of my next painting done in photoshop.
I would like to change the quote to latin.
Is "Adiuvo Facientes" accurate?


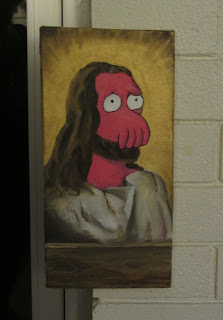
If you don't get the reference you could watch this but I doubt it would help:

My painting in progress


Friday, July 6, 2012

Sunday, July 1, 2012
How to fix a Canon camera with lens error. SD780 Disassembly instructions
This post is still in progress
My Canon sd780 took a nose dive and was giving this error: "lens error, restart camera"

2. Take off the case. Unscrew the five screws holding the case together and gently pull off the front of the camera.

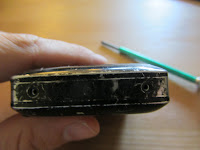


3. Disconnect the back casing by unpluging the attachment in the left upper corner of the photo.

4. Unclip the flash piece that connects to the back of the LCD.


The lens component is now free with the exception of its two wired connections to the main portion of the camera and the back screws.
5. remove the LCD by detaching the connections to the main body and the small connection to the larger cable

 6. Remove the four screws.
7. Detach the two connections that attach the lens.
 To find the second connection you will need to gently pull back the ribbon attaching the lcd screen to the main part of the camera.
You can now pull out the lens.
6. Compare the new part to the removed lens. you can see there is one more component that needs to be moved.

It should easily snap off after sliding out the LED and can be transfered to the new lens.

7. Once it has been switched over you can reattach the two connections

8. Snap the flash back into place and then put the casing back on.


So what to do? There are many instructions online for fixing this problem in a non invasive method. Tricks like pounding on the side and prying the lens might work for you but they did not for me. Below are instructions to disassemble the camera and replace the lens component.
First of all.... I would do this series of steps without breaking anything else. If you can pull that off then buy the part. Otherwise you could consider just selling the LCD.
1. Remove the battery and sd card.
2. Take off the case. Unscrew the five screws holding the case together and gently pull off the front of the camera.


3. Disconnect the back casing by unpluging the attachment in the left upper corner of the photo.

4. Unclip the flash piece that connects to the back of the LCD.


The lens component is now free with the exception of its two wired connections to the main portion of the camera and the back screws.
5. remove the LCD by detaching the connections to the main body and the small connection to the larger cable
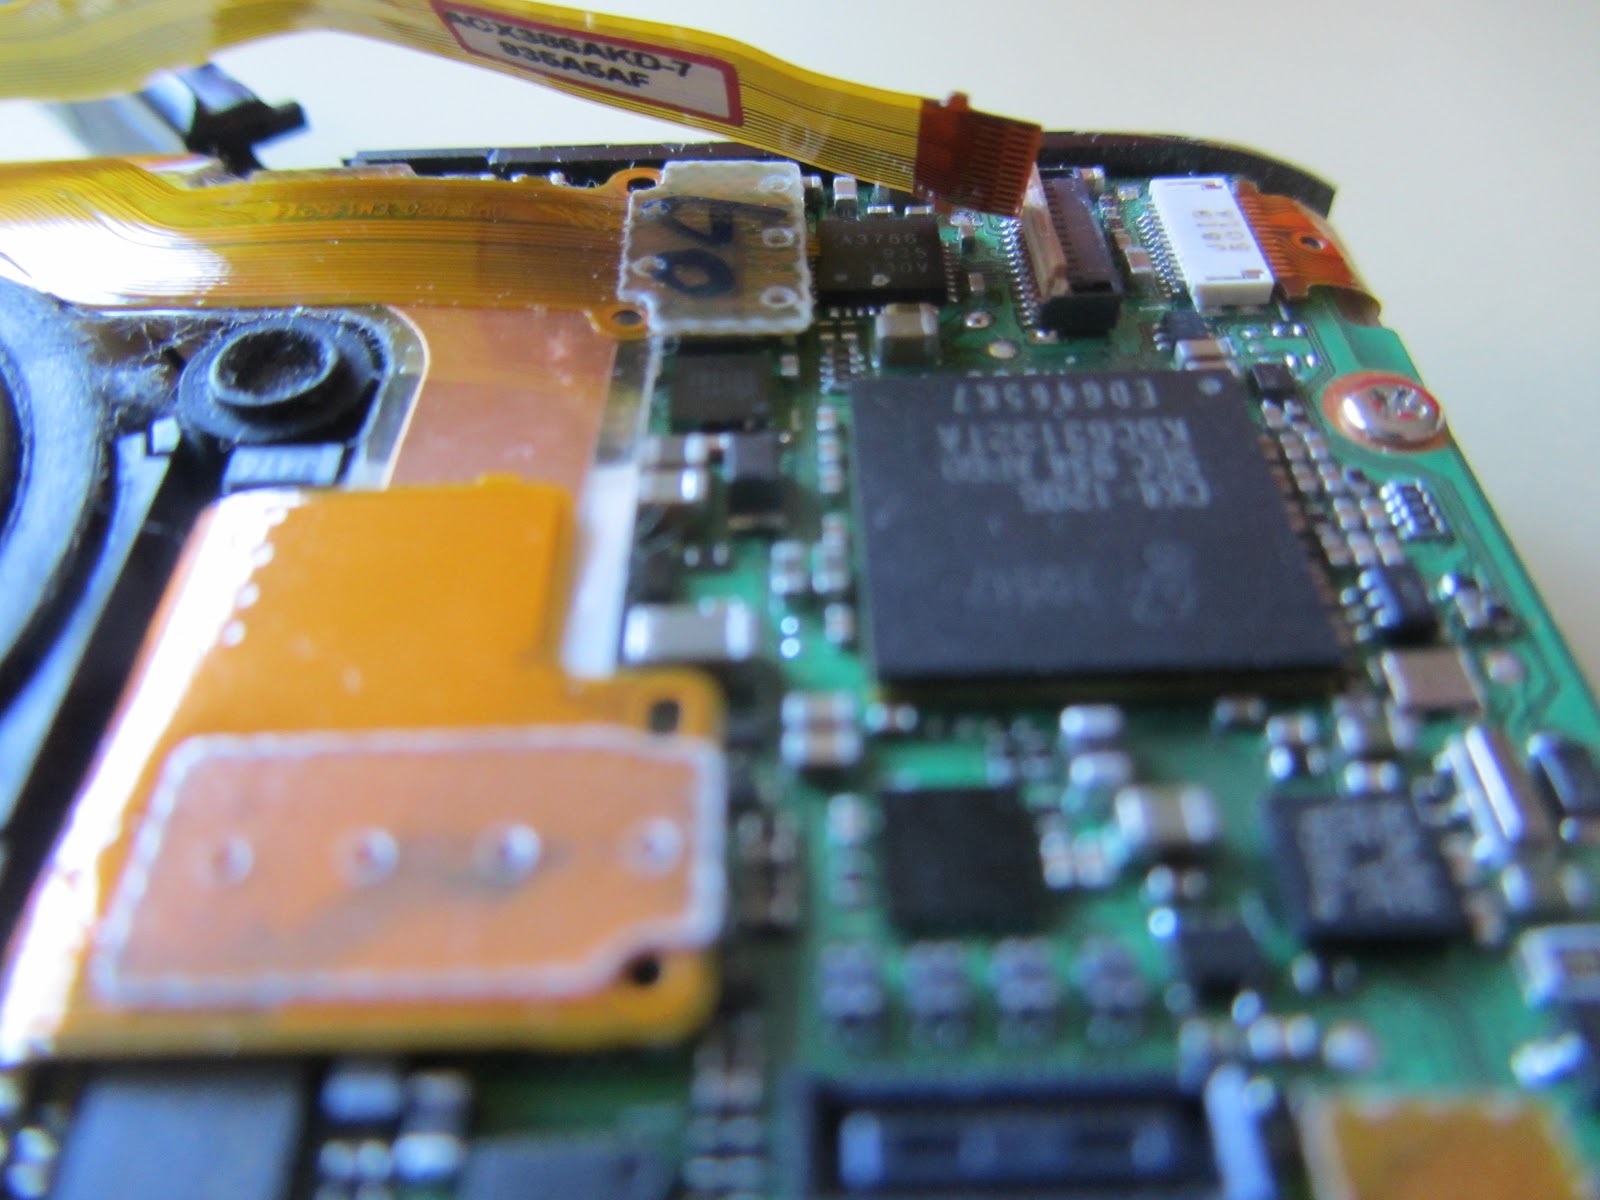
 6. Remove the four screws.
7. Detach the two connections that attach the lens.

You can now pull out the lens.
6. Compare the new part to the removed lens. you can see there is one more component that needs to be moved.

It should easily snap off after sliding out the LED and can be transfered to the new lens.

7. Once it has been switched over you can reattach the two connections

8. Snap the flash back into place and then put the casing back on.

Make sure the auto, photo, video toggle is in the same position as the case before reattaching the back of the casing.


Thursday, May 3, 2012
Copiapoa hypogea lizard skin
The newest member of my ugly cactus/succulent collection. Fresh from the huntington botanical garden annual plant sale.


 |
Copiapoa hypogea
|


Subscribe to:
Posts (Atom)
 ,
,  and
and 


 Posts
Posts


