 Growing, Brewing beer
+in++a+pot.jpg) Growing hops in a pot
Growing hops in a pot Drying hops in a gas oven
 Growing wheat for beer or bread
 Very small scale all grain brewing
 Northern Brewer Coupon/Discount Codes
 Casting and sculpture
 DIY simple casting furnace
 Lost foam figure
 DIY belt buckles
 Rotometals coupon/discount code
 Figure Sculpture In Wax and Plaster
 Printing and Painting
 DIY t-shirt printing
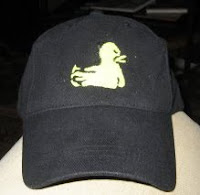 DIY screen printing a hat
 Sticker stencil t-shirt printing
 Painting bones
 Painting Animals
 wallpaper/wrapping paper
 Bottles
 How To Cut Wine Bottles with String and Acetone
 How To Cut Wine Bottles with a Dremel tool
 Glass etching without a stencil
 Re-usable Chalk Bottle Labels
 Recipes
 Spicy Ginger Ale Recipe
 What to do with too much Zucchini
 How to make a great mojito
 How to pickle peppers
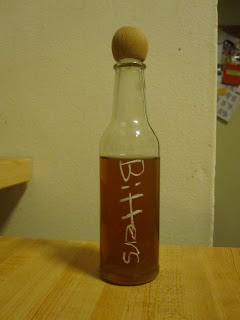 Homemade Bitters
 American flag jello
 sodastream orangina
 sodastream ginger ale
 Toys and Games
 Build a Ladder Golf Set
 Mario Kart RC Battle
 Crayon Carving
 Other/Contact
 Reusing chopsticks
 how to make a dropdown menu with images
 how to add a share to facebook button to your blog
HOW TO BUILD THE MATCH GUN (AKA MATCH SHOOTER, CLOTHESPIN GUN, PEG GUN)

This spring powered toy made out of only things you have in the house already is seriously great. If you have any questions post them in the comments section and I will address them.
What you need:
Wooden match, Sandpaper, a wooden clothespin (this will be the peg for the peg gun), Miter saw, a cork and some rubber bands.
A Dremel tool will make this much quicker but is not needed. Masking tape and twist ties can be used for some tweaking of the design.
Step one: disassemble your clothespin.
Step two: using your Miter saw and sand paper carve out a pathway that is the width of a match and another space for the metal clip to pass through that is the same width one half of the clothespin. See photos.


Step Three: Take the other half of the clothespin and make a notch for the spring to clip in. See photo for before and after comparison.

Now test your sanding job by rubberbanding the two halves together and trying to launch a match. If you are unable to cock the gun by pushing a match through the barrel you will need to either cut it again with a less deep grove or fill part of your grove with tape.
If you are having trouble with getting the metal part in see the photos at the end of the post.
Step Four:If it worked you can now glue it together with wood glue. Put the rubberbands on to hold it tight while it dries.
Step Five: While that is drying it is time to prepare the cork. Cut a grove in the cork that is the width of the clothespin that is slightly angled so that when inserted the clothespin makes a ~110 degree angle.


Step Six: Once the Glue is dry take of the rubber bands and glue on the cork. I used a vice grip to hold it tight while drying.

Once this is dry you are done. Now make another and challenge your friends.
Placing the metal part.


 ,
,  and
and 


 Posts
Posts

